TRAILER HITCH INSTALLATIONS
Call now for a quote or consultation
352-572-1090
We service almost all trailer hitch needs, including
- Receiver Hitches
- Bumper Hitches
- Weight Distribution Hitches
- 5th Wheel Hitch
- Gooseneck Hitch
- Pintle Hooks
We Install
- Class 1 (cars and crossovers),
- Class 2 (Cars, minivans, an crossovers),
- Class 3 (Crossovers, SUVs and trucks),
- Class 4 (Trucks and SUVs)
- Class 5 Xtra Duty (Trucks and SUVs)
- Class 5 Commercial Duty (Dually and Chassis Cab Trucks)
CALL ANYTIME FOR A FREE QUOTE
352-572-1090
Robby Billings
If you would like to ask questions, set up an appointment, or would like to leave feedback please send us an email now.
BONUS BELOW
DOWNLOAD YOUR TRAILER HITCH GUIDE
How to Install a Trailer Hitch in 8 Step
Installing a trailer hitch is a relatively easy automotive job. A typical tow hitch installation may involve some of the following steps: removing the spare tire, lowering the exhaust, removing existing vehicle hardware, lifting the hitch into position and torqueing the hitch hardware to the correct values.In this guide, we”ll cover step by step how to install a hitch. We’ll also answer questions about cost, time, warranty and offer some pro tips.
We would like to thank Curt Manufacturing for helping with this list.
CURT hitches are especially easy to install because most are no-drill and require only a few simple tools. If you’d prefer to take your vehicle in for professional installation, CURT also has a complete network of dealers and installers.
TOWING TIP!
Before purchasing a hitch, look up the installation instruction sheet or installation video online for the hitch you are considering, and then decide if it is something you can handle on your own or if you will need to bring it to a professional installer.
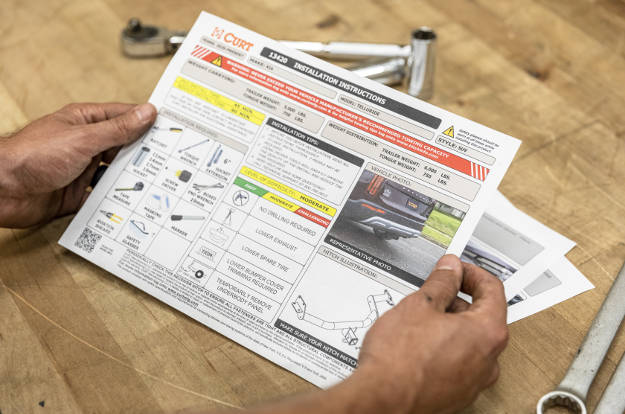
Step 1: Read the instructions
The first step to installing a trailer hitch receiver is to read the instructions. Familiarizing yourself with the steps involved in the installation will give you confidence in your work and will help you determine if you’re up to the task.
Step 2: Gather your tools
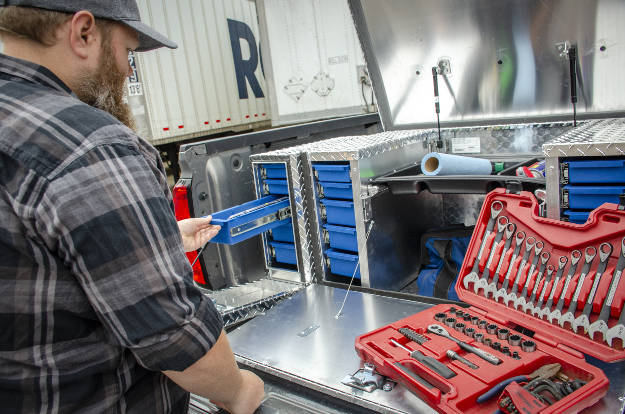
Before you begin, set aside the tools necessary for the tow hitch installation. These may be different depending on your specific hitch, but in general, a hitch installation only requires some basic tools found in the average do-it-yourselfer’s tool box.
Step 3: Chock your wheels and jack up your vehicle
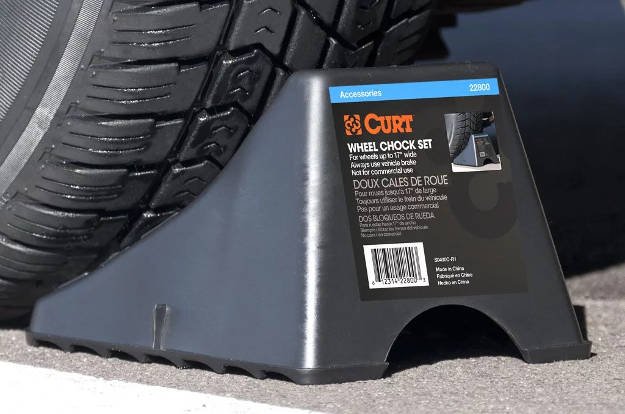
Next, you will need to place wheel chocks on your front wheels. You may also need to jack up your vehicle, depending on your particular hitch and work space.
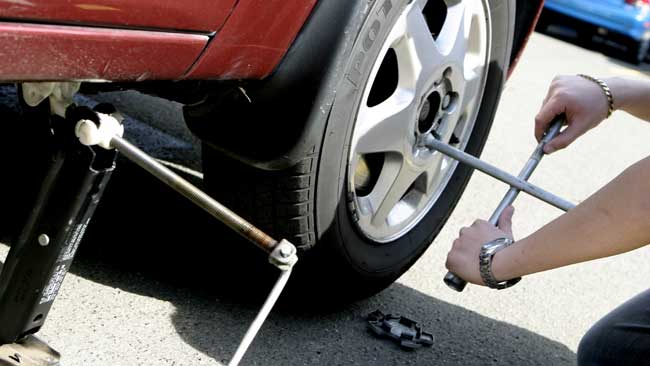
Jacking up the vehicle is not necessary for most hitch installations — even a car hitch installation — but it does provide extra space underneath the vehicle to work. Make sure the emergency brake is activated, that your vehicle is at a safe height and that you use jack stands to ensure the vehicle is properly stabilized.
Step 4: Set up a work light
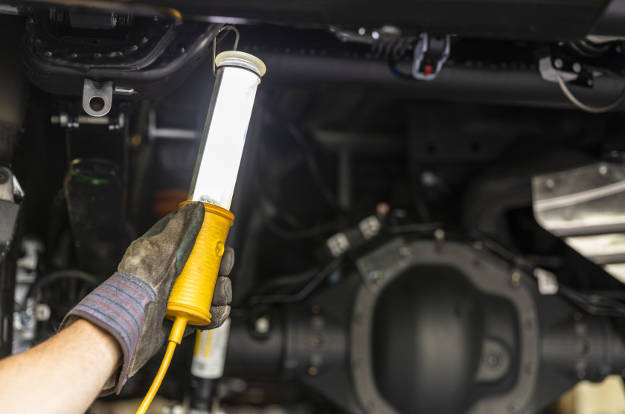
It always helps to have extra light when working underneath the vehicle, and it will help when referencing the installation instructions during the install. Position the light so that it illuminates your work space without obstructing what you’re doing.
At this time, you can familiarize yourself with the various bolts, holes and other components you will be accessing during the installation.
Step 5: Remove the spare tire, if necessary
On some receiver hitch installations, the rear spare tire stored underneath the vehicle will be in your way as you install the hitch. If specified in the instructions, remove it and set it aside.
This may also be the time to lower the exhaust. A small number of CURT trailer hitches require the tailpipe and part of the exhaust assembly to be lowered during the installation.
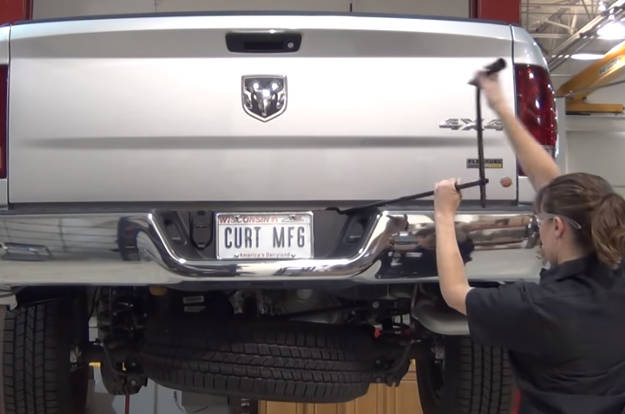
Step 6: Remove bolts, plugs, and other parts, as specified
Some trailer hitch installations require certain bolts and rubber plugs to be removed to make way for mounting the hitch frame. Others require small panels or a heat shield to be removed or trimmed. Still others may require drilling into the frame.
For some hitch installations, the existing vehicle hardware may be used to bolt the hitch into place. Whatever the case for you particular hitch, all necessary hardware will be included for a complete installation.
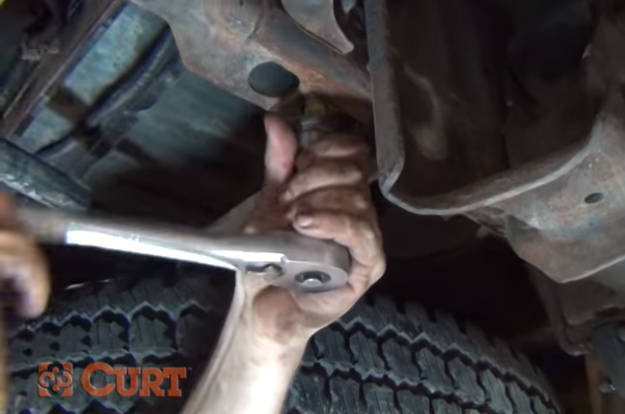
Step 7: Position the hitch and attach hardware
On some receiver hitch installations, the rear spare tire stored underneath the vehicle will be in your way as you install the hitch. If specified in the instructions, remove it and set it aside.
This may also be the time to lower the exhaust. A small number of CURT trailer hitches require the tailpipe and part of the exhaust assembly to be lowered during the installation.
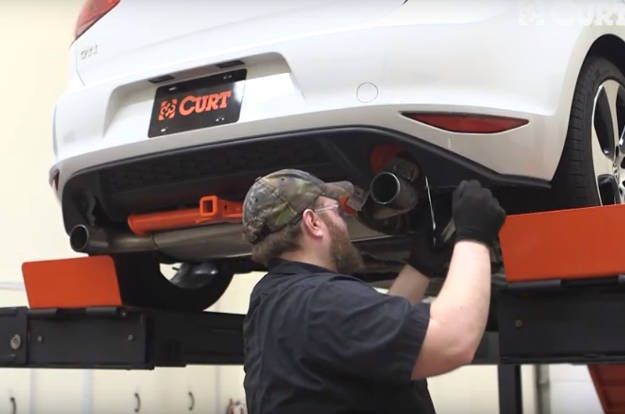
Step 8: Fully tighten the bolts
When all of the trailer hitch bolts are in place, torque them to the values specified in the installation instruction. The amount of torque required various by the size of bolts. Some hitches only require around 100 foot-pounds of torque, while others require 150 foot-pounds or more. Make sure you have the proper tool to safely torque your hitch into place.
TOWING TIP!
If your tow hitch installation requires you to feed bolts in through a hollow frame and you accidentally lose a bolt inside, getting it out can be extremely tedious. However, it can be done. Insert a telescoping magnet in through the hole, and lure the bolt to the hole until you can pull it out.
We are available in the following areas:
- Ocala
- Gainesville
- Silver Springs Shores
- Marion Oaks
- Summerfield
- Fellowship
- Emathia
- Anthony
- Sparr
- Reddick
- Fort McCoy
- Citra
- Orange Lake
- Micanopy
- The Villages
- Orange Springs
- Williston
- Morriston
- Belleview
- Donnellon
- Crystal River
- Cedar Key


![bigstock-Vector-set-of---guarantee-g-15641318 [Converted] RB Hitch Installations Marion Oaks](https://rbhitchofocala.com/wp-content/uploads/2020/08/bigstock-Vector-set-of-guarantee-g-15641318-Converted.png)
